



Hardwood floors are renowned for their timeless beauty and durability but can show signs of wear and tear over time. If you require a refresh, hardwood floor sanding is the perfect solution. In this comprehensive guide, we’ll explore the process of hardwood floor sanding and how it can breathe new life into your home.
Assess The Condition Of Your Floors
Before sanding hardwood floors, it’s essential to assess their condition. Look for signs of wear, such as scratches, dents, or uneven surfaces. Additionally, inspect the finish to determine if it’s worn or damaged. Assessing the condition of your floors will help you determine if sanding is necessary and the extent of the restoration required.
Gather The Necessary Equipment
To successfully sand your hardwood floors, you’ll need the right equipment. This includes a floor sander, edge sander, sandpaper (in various grits), a vacuum cleaner, safety gear such as goggles and a dust mask. Renting or purchasing high-quality equipment is crucial to achieving professional results and ensuring smooth sanding.
Prepare The Room
Before starting hardwood floor sanding, prepare the room by removing furniture, rugs, and other obstacles. Cover vents, electrical outlets, and baseboards to protect them from dust and debris. Ensure proper ventilation by opening windows and doors, and consider sealing off adjacent rooms to prevent dust from spreading throughout your home.
Start Sanding
Once the room is prepared, it’s time to begin sanding your hardwood floors. Start with a coarse-grit sandpaper to remove the old finish and any surface imperfections. Work in small sections, moving the sander toward the wood grain to ensure an even finish. Use the edge sander to sand along the edges and corners of the room where the floor sander can’t reach.
Gradually Progress To Finer Grits
After sanding with the coarse-grit sandpaper, gradually progress to finer grits to achieve a smooth and uniform finish. Each pass should remove the scratches left by the previous grit, resulting in progressively smoother floors. Be sure to vacuum or sweep between each sanding pass to remove dust and debris and prevent them from scratching the floors.
Inspect And Repair
Once you’ve completed the sanding process, inspect your hardwood floors for any remaining imperfections or damage. Fill any cracks, gaps, or nail holes with wood filler, and sand them smooth once dry. Additionally, check for any loose boards or structural issues that must be addressed before refinishing.
Choose A Finish
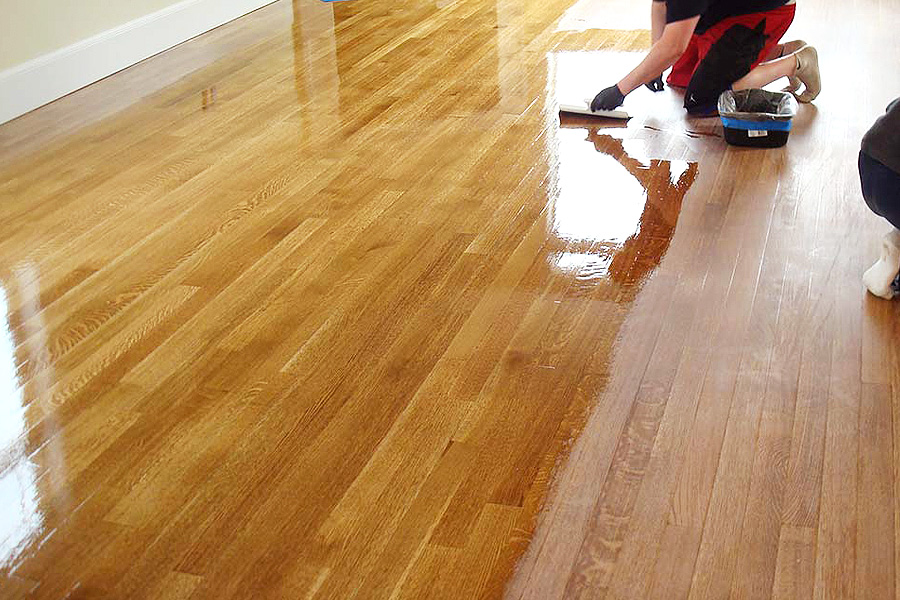
After sanding and repairing your hardwood floors, it’s time to choose a finish. Various options include oil-based polyurethane, water-based polyurethane, and penetrating sealers. When selecting a finish, consider durability, appearance, and drying time. Apply the finish according to the manufacturer’s instructions, using a brush or roller for best results.
Allow For Drying Time
After applying the finish, allow floors to dry completely before walking on them or replacing furniture. Depending on the type of finish used, drying time can range from a few hours to several days. Be patient and avoid placing rugs or furniture on the floors until they are fully cured to prevent damage to the finish.
Maintain Your Floors
Once your hardwood floors are sanded and refinished, it’s essential to maintain them properly to preserve their beauty and longevity. Regularly sweep or vacuum to remove dirt and debris, and clean spills promptly to prevent staining. Additionally, consider placing felt pads on furniture legs to prevent scratches and dents, and avoid wearing high heels or shoes with abrasive soles on your hardwood floors.
Conclusion
Hardwood floor sanding is a highly effective way to revive and restore your floors to their former glory. Following the steps outlined in this guide and using the proper equipment and techniques, you can achieve professional results and enjoy beautiful, durable hardwood floors for years. So, roll up your sleeves and get ready to transform your home with hardwood floor sanding!